
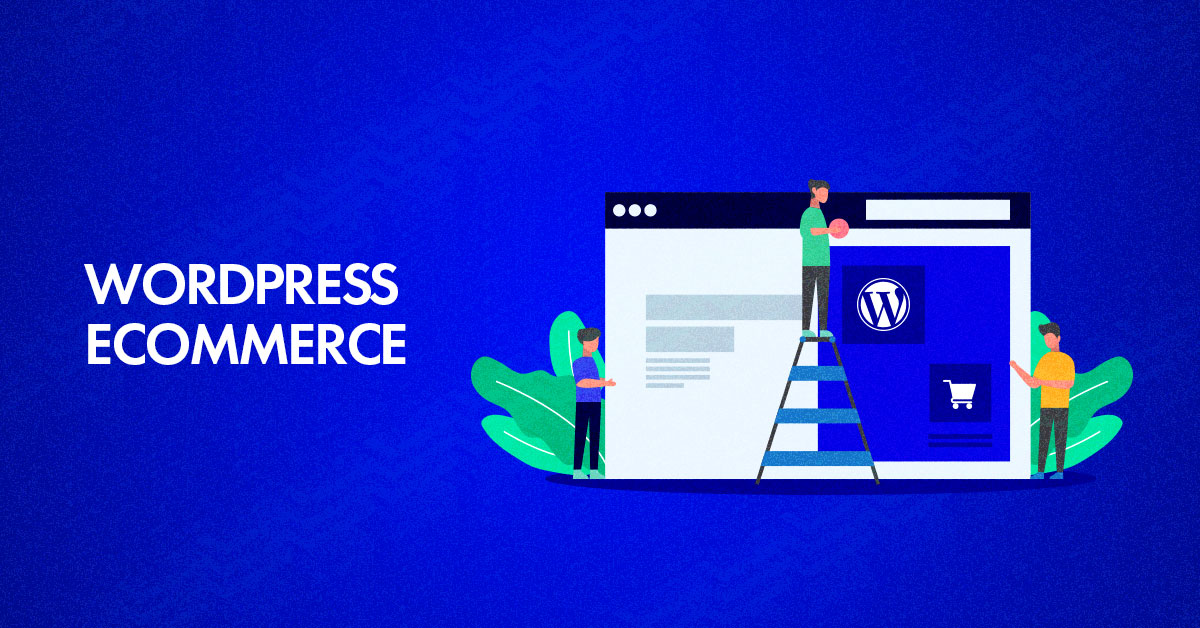
A Step-by-Step Guide to Setting Up an E-Commerce WordPress Site for Your Business
In the digital age, having an online presence is essential for businesses to reach a wider audience and boost sales. WordPress, with its powerful e-commerce capabilities, offers an excellent platform for building and managing your online store. In this blog, we will guide you through the step-by-step process of setting up an e-commerce WordPress site for your business, helping you establish a successful online storefront.
Step 1: Choose a Reliable Web Hosting Provider:
Selecting a reliable web hosting provider is crucial for the performance and security of your e-commerce site. Look for a provider that offers specialized WordPress hosting, excellent uptime, robust security features, scalable resources, and responsive customer support. Consider factors such as server speed, storage, bandwidth, and SSL certificate availability to ensure a seamless shopping experience for your customers.
Step 2: Install WordPress and Set Up Your Website:
Once you have chosen your hosting provider, follow their instructions to install WordPress on your domain. Most hosting providers offer one-click WordPress installations, simplifying the setup process. After installation, configure your basic website settings, such as site title, tagline, time zone, and permalink structure. This will lay the foundation for your e-commerce site.
Step 3: Select and Customize Your E-Commerce Theme:
Choose an e-commerce theme that aligns with your brand identity and provides the features you require. Look for themes optimized for e-commerce, offering intuitive navigation, mobile responsiveness, product showcases, and shopping cart functionality. Customize the theme by adding your logo, color scheme, and relevant content to create a visually appealing and user-friendly online store.
Step 4: Install and Configure an E-Commerce Plugin:
To enable e-commerce functionality on your WordPress site, install a reputable e-commerce plugin such as WooCommerce. WooCommerce is a popular choice that integrates seamlessly with WordPress and provides extensive features for managing products, inventory, orders, payments, and more. Follow the plugin’s setup wizard to configure essential settings like currency, payment gateways, and shipping options.
Step 5: Add and Organize Your Products:
With the e-commerce plugin installed, you can start adding your products to the online store. Create product categories and subcategories to organize your inventory effectively. For each product, provide detailed descriptions, high-quality images, pricing information, and any additional variations or attributes. Optimize your product pages with relevant keywords to improve search engine visibility.
Step 6: Set Up Payment Gateways:
To accept online payments from customers, integrate secure and widely-used payment gateways with your e-commerce site. WooCommerce offers numerous payment gateway extensions, including PayPal, Stripe, Authorize.Net, and more. Select the payment gateways that align with your target market and business requirements, and configure them according to the provided instructions.
Step 7: Implement Security Measures:
Security is paramount for any e-commerce website. Install security plugins that offer features like firewall protection, malware scanning, and brute-force attack prevention. Regularly update WordPress core, themes, and plugins to patch any security vulnerabilities. Use strong passwords for all user accounts, enable two-factor authentication, and employ SSL certificates to encrypt sensitive customer data.
Step 8: Set Up Shipping and Tax Options:
If you plan to offer shipping services, configure the shipping options in your e-commerce plugin. Define shipping zones, rates, and methods based on your product dimensions and customer locations. Additionally, set up tax rules and rates to comply with applicable tax regulations. WooCommerce provides flexible settings to accommodate various shipping and tax scenarios.
Step 9: Test and Launch Your E-Commerce Site:
Before launching your e-commerce site, thoroughly test its functionality and user experience. Create test orders, process payments, and ensure that all features, including cart functionality, checkout process, and email notifications, are working correctly. Conduct comprehensive testing across different devices and browsers to ensure compatibility and responsiveness.
Setting up an e-commerce WordPress site for your business allows you to tap into the vast online marketplace and expand your customer base. By following these step-by-step guidelines, you can create a professional and secure online store that offers a seamless shopping experience for your customers. Embrace the potential of e-commerce and start growing your business in the digital realm.